

Sending transactional emails is incredibly easy with Ruby on Rails. For Air Mail we have a number of different newsletters and account-related emails that we send through our main Rails app. It’s one of the core pieces of our application, so naturally I spend a lot of time designing and building these emails.
Here’s how I use a few different tools to test out my emails when in working in development.
ActionMailer Previews
ActionMailer Previews are my first choice for quickly viewing an email’s design and implementation. ActionMailer Previews are built right into Rails and come standard with the basic Rails mailer generator.
I like to put my previews in my spec folder along with my other tests. I’ve seen others put these previews in the lib folder as well, and it really doesn't matter. Here's how I configure the path in config/application.rb:
config.action_mailer.preview_paths << "#{ Rails.root }/spec/mailers/previews"
Configuring Rails to put previews in spec/mailers/previews
Next, let’s generate a newsletter mailer to use for this example:
rails generate mailer newsletter delivery
Generate a new mailer named NewsletterMailer with a delivery method.
This command will generate a few files for us including the mailer class itself and another class called NewsletterMailerPreview. The newsletter preview file looks something like this by default:
class NewsletterMailerPreview < ActionMailer::Preview

  def delivery
    NewsletterMailer.delivery
  end

end
The newly-generated NewsletterMailerPreview
This preview class has one generated method named delivery which corresponds to the name of the mailer method itself inside of NewsletterMailer. Inside of the delivery method, we’re able to prepare any parameters or configuration for the email we’d like to preview. In this example case, I’m sending a particular newsletter to a single newsletter subscriber. Here's what that setup looks like:
class NewsletterMailerPreview < ActionMailer::Preview

  def delivery
    subscriber = Subscriber.last
    newsletter = Newsletter.last

    NewsletterMailer.delivery(newsletter:, subscriber:)
  end

end
Preparing a sample email to preview
One quirk about ActionMailer Previews is that, while the preview files themselves may live with your spec or test directory, these classes are executed using your development database. This quirk is actually quite useful, though, because we can work off of the same data in our development database to set things up easily without needing to build up factories or fixtures in a test.
After we finish setting up the preview class, just run rails server as usual, and visit the mailers preview link in your browser:
http://localhost:3000/rails/mailers/newsletter_mailer
That’s it! Very simple. ActionMailer Previews are an excellent solution for designing, developing, and testing transactional emails with Rails.
Letter Opener
ActionMailer Previews are perfect for iterating on a single email at a time in development. But how do we see how the emails are working while actually using our application? This is where I reach for a handy gem called Letter Opener by the great Ryan Bates.
The main benefit of Letter Opener is that you just your app like normal. If there’s an email that is triggered from within the app’s code, Letter Opener “sends the email” right to a new browser window. Every email sent within the app is a new window in your default web browser with the contents of that email.
To install Letter Opener, just add the gem to the Gemfile. I like to keep it in my :development group, since we only need this gem in local development mode.
group :development do
  gem "letter_opener"
end
Adding letter_opener to a Gemfile
Run bundle install to get the latest version.
Then, in your config/environments/development.rb config file, add the following lines to enable letter opener’s capabilities:
config.action_mailer.delivery_method = :letter_opener
config.action_mailer.perform_deliveries = true
Configure Rails to use Letter Opener for deliveries
Once that’s configured just use your app and let it send emails. Here’s an example of a sign-in email that pops open for me when I'm testing Air Mail:
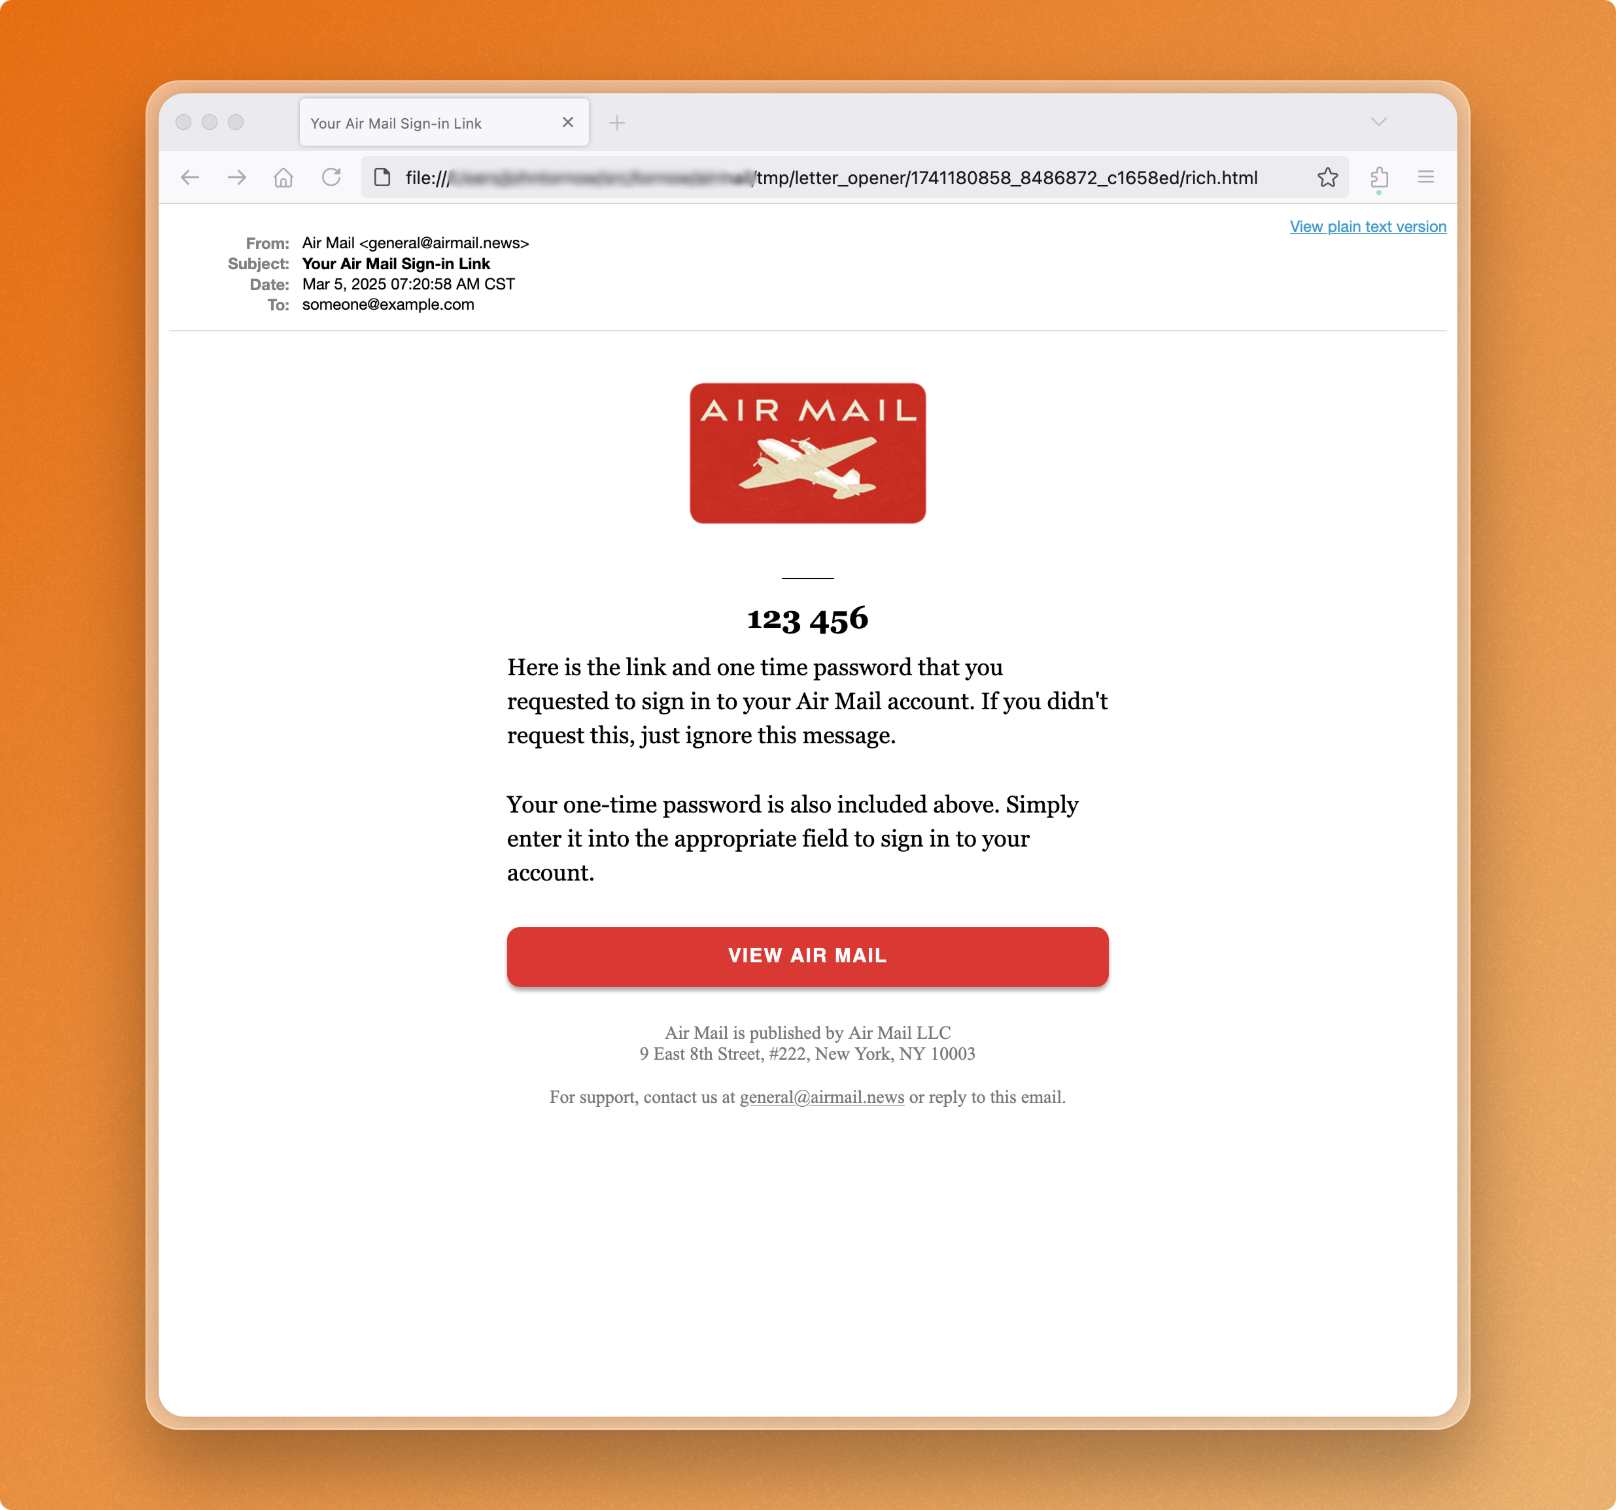
I’m using Letter Opener for almost all of my email testing needs these days. It’s just dead simple. Install the gem, configure the environment, and send emails. When an email is sent, you’ll see it in your browser.
Mailpit
The main reason I like using Letter Opener for testing Rails emails through my app is that it will open a new browser window for every email sent. You can’t miss it.
However, the main reason I sometimes don’t use Letter Opener is because it opens a new window for each email.
I’m very often testing systems that send out lots of emails. Our newsletter delivery system at Air Mail sends out emails in Sidekiq batches and uses background workers timed over a few hours to deliver everything efficiently. When I’m testing this type of system, I use a tool called Mailpit.
Mailpit is a service that runs in the background on your local computer and acts like a normal SMTP server to receive the emails from your app. The interface to your emails is a local web host that looks just like a little inbox. Mailpit is a more modern approach to a solution I used to use years ago, Mailcatcher. Mailcatcher hasn't had as much maintenance as is needed over the past few years and it has lagged behind, so enter Mailpit.
I typically run Mailpit in Docker and I expose a port so I can just keep it open in one browser tab while I’m working. Here’s my docker command to run Mailpit:
docker run -d \
  --restart unless-stopped \
  --name=mailpit \
  -p 8025:8025 \
  -p 1025:1025 \
  axllent/mailpit
Docker Run command to boot up Mailpit
This will run Mailpit in a Docker container that we’ll access at http://localhost:8025/.
Now that Mailpit is running, let’s set up our Rails app to send to it. Once again, open up config/environments/development.rb and adjust the Action Mailer config:
config.action_mailer.delivery_method = :smtp
config.action_mailer.smtp_settings = { address: "localhost", port: 1025 }
config.action_mailer.raise_delivery_errors = true
Configuring Rails for Mailpit's SMTP server
Now that Mailpit is configured any emails sent from the application will be delivered there.
There’s one feature of Mailpit that’s very handy: tags. I work on a bunch of different applications at the moment and sometimes more than one at a time. In each application’s mailer configuration I also assign a tag with the name of the app. This way I can filter by a specific app within Mailpit.
Here’s the configuration I use to assign a tag for Air Mail:
config.action_mailer.default_options = {
  "X-Tags" => "airmail"
}
Adding a tag header to all outgoing emails from an app
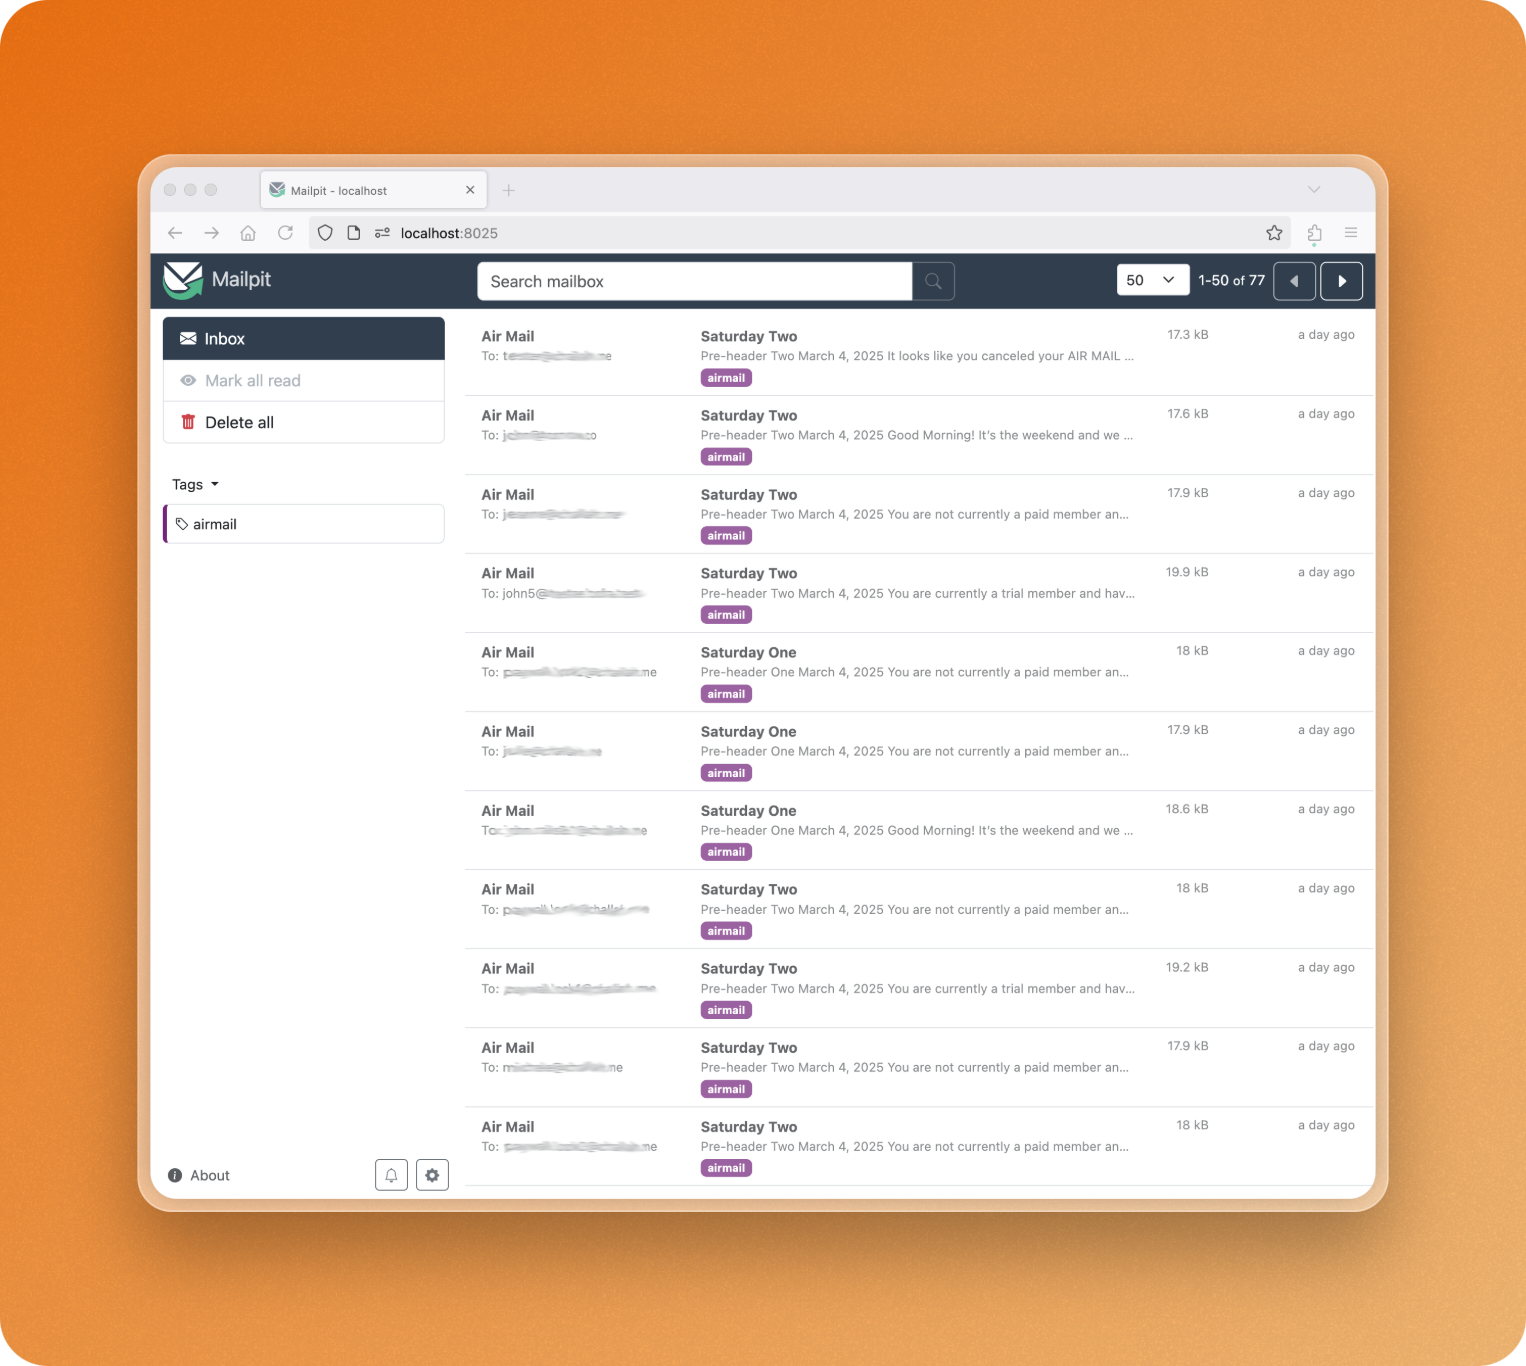
Here's an example of what Mailpit looks like:
All of these tools have a specific use cases for my normal development flow:
- Action Mailer Previews are best for the design, building, and testing of a single email.
- Letter Opener is best for a few emails at a time and to leave as a sensible default testing tool for emails in Rails.
- Mailpit is very useful when testing larger amounts of emails, testing multiple apps at once, or keeping an archive of the emails you’re testing.
Happy emailing. 📤
Drop me a line any time.